Tutorial - Twisted Wreath
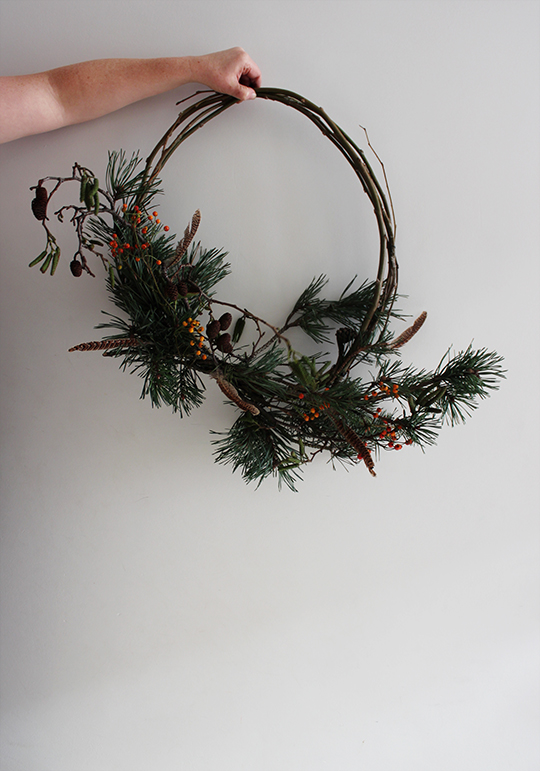
I fear that Caroline and I may be a little late with our tutorial this month, but if you have already made a wreath this year, perhaps you could book mark this for next, or alternatively why not create one just for the sake of it any time of year! It is all made using foraged items so doesn't cost that much. I have called this a twisted wreath, I have no idea if that is the right name, but it sounds pretty fitting to me so it will do!
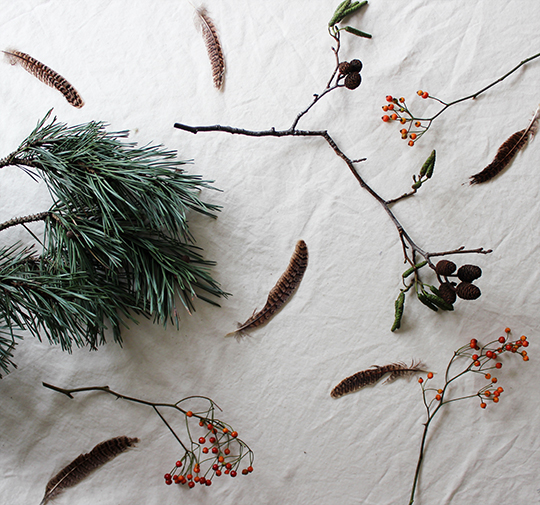
You will need:
A few maleable branches ie hazel, willow, dogwood
Pine
Willow catkin
Rosehips
Feathers (optional)
Cable ties
Reel wire
Stub wire (different thicknesses)
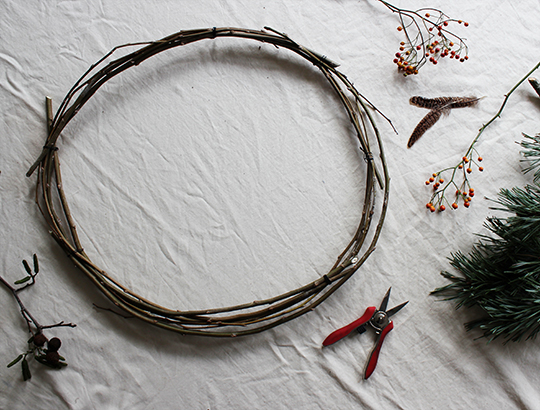
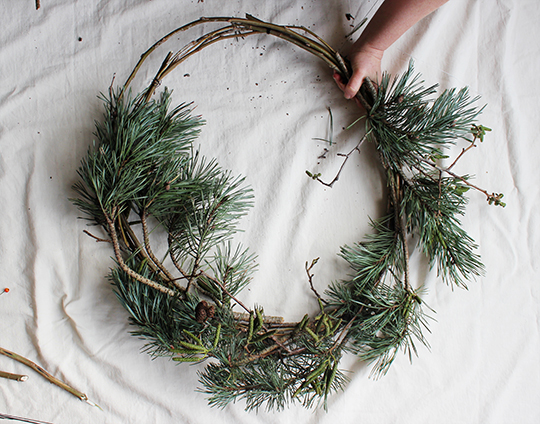
Make a circle with the branches, the best way to do this is by grasping a few in your hand, keeping the lengths all different and tie with a cable tie. We fixed in about 3 places using cable ties.

Attach the reel wire to the frame by winding it round a couple of times first and then feeding in between the branches.
Start adding in the foliage by binding on the frame with the reel wire, wrapping it around each piece two or three times to secure.

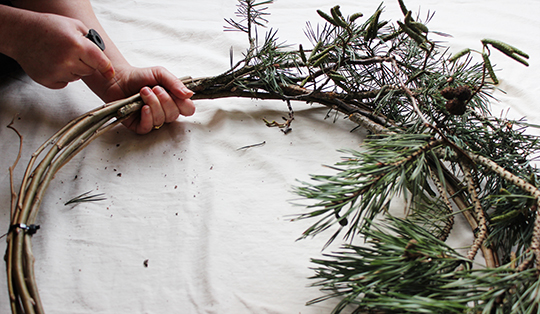
Choose pieces that will give a nice shape and thickness to the wreath.
Once you have finished adding the foliage, wrap the reel wire around a couple of times and push the end into the frame.
Create legs for your rosehips using stub wire. Fold a piece in half and then hold it against the stem, wrapping one end of the wire round the stem and the other leg.


Do the same with the feathers, but using fine wire.
To attach the rosehips and feathers, feed the legs into the frame through the back and wrap the wire round.

And the finished article, modelled by the gorgeous Caroline:

My creation is at the top in case you are wondering.
As always, I would love to hear if you make one, and don't forget to pop over to Wild Rubus, to see what Caroline has to say.
Emma x