Natural Spring Flowers Tutorial

Last year Caroline from Wild Rubus and I showed you how to create a fresh Spring flower bowl arrangement (which you can see here). This year, we thought we would do something a bit different. Although this tutorial also uses a bowl as the container, it is based on a garden border and therefore has a much more natural look to it, and personally I absolutely love it!
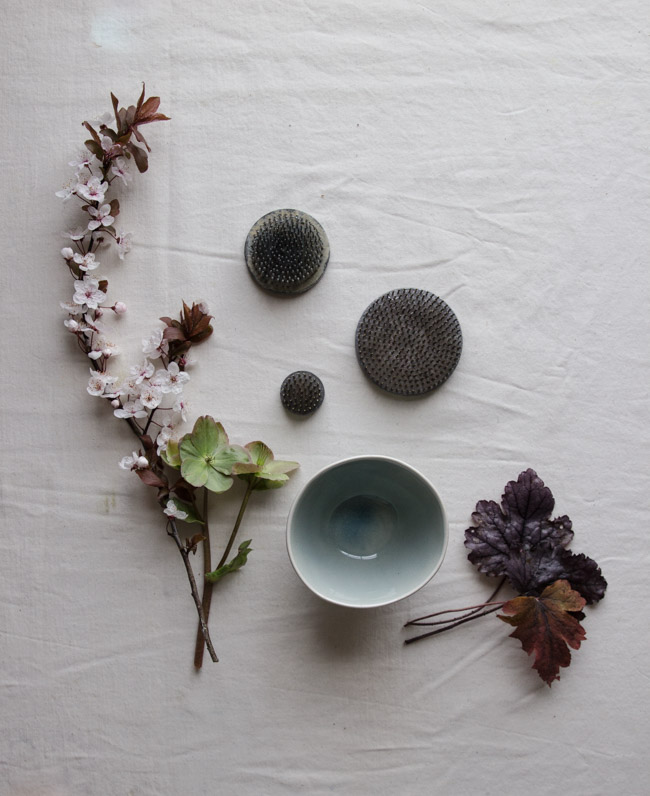
As always this tutorial is designed to act as inspiration rather than an exact how to, and therefore feel free to use different flowers to the ones we have used. One of the great things about this, is that it doesn't actually use many flowers so a bit of a forage and you should have enough to create something stunning. One other thing before we start, we do use a flower frog, which is not something we have done before, you can pick them up fairly cheaply and they are incredibly useful if you regularly arrange flowers, but if you would rather not invest then a ball of wire will do the job.
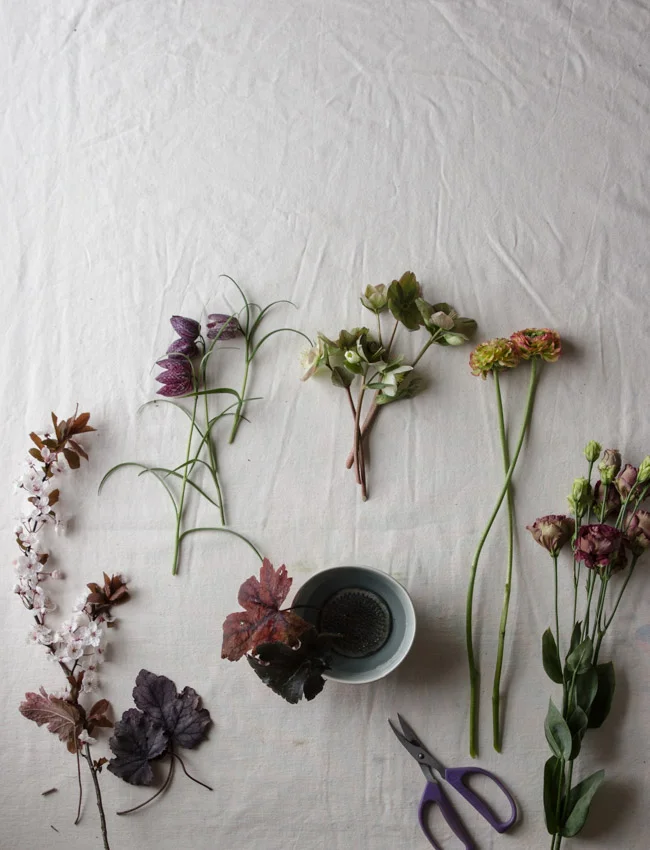
We used:
a small bowl, about 20cm diameter
a flower frog to fit inside the bowl
flower frog putty
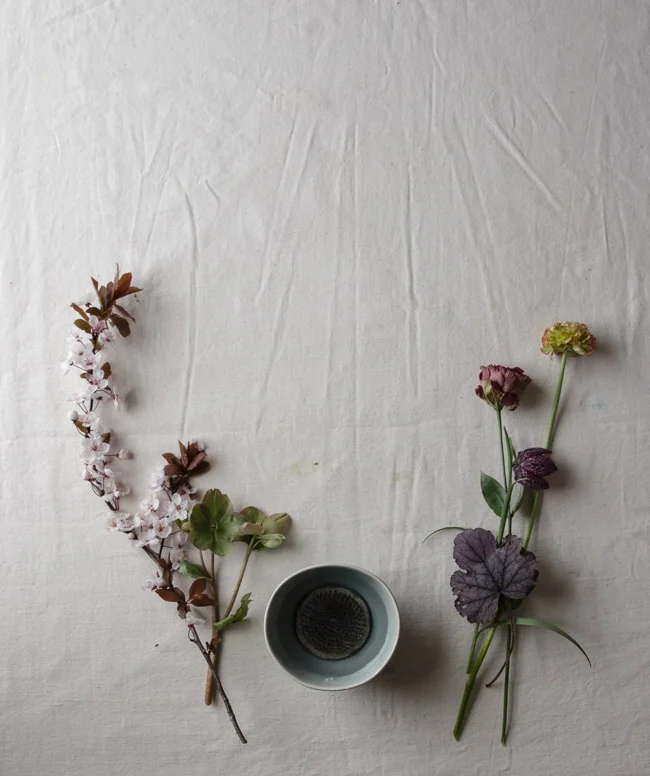
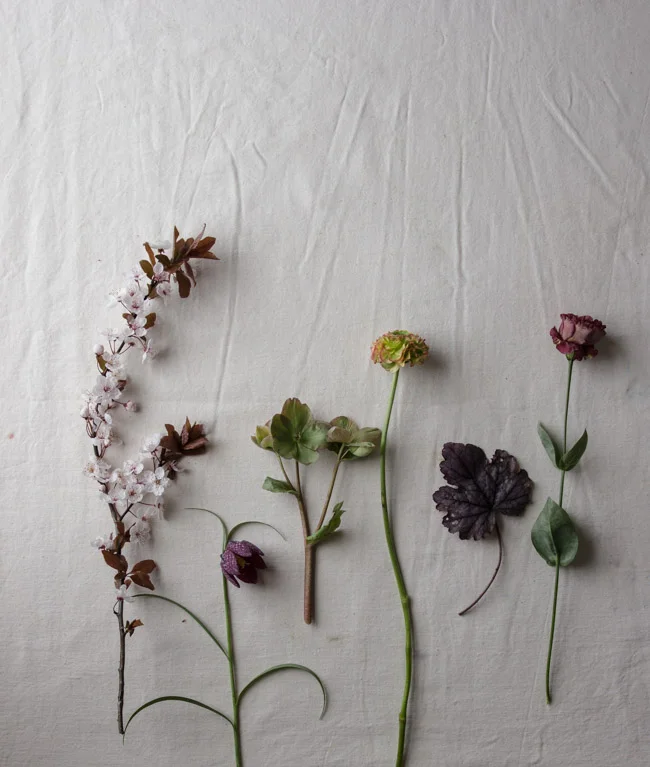
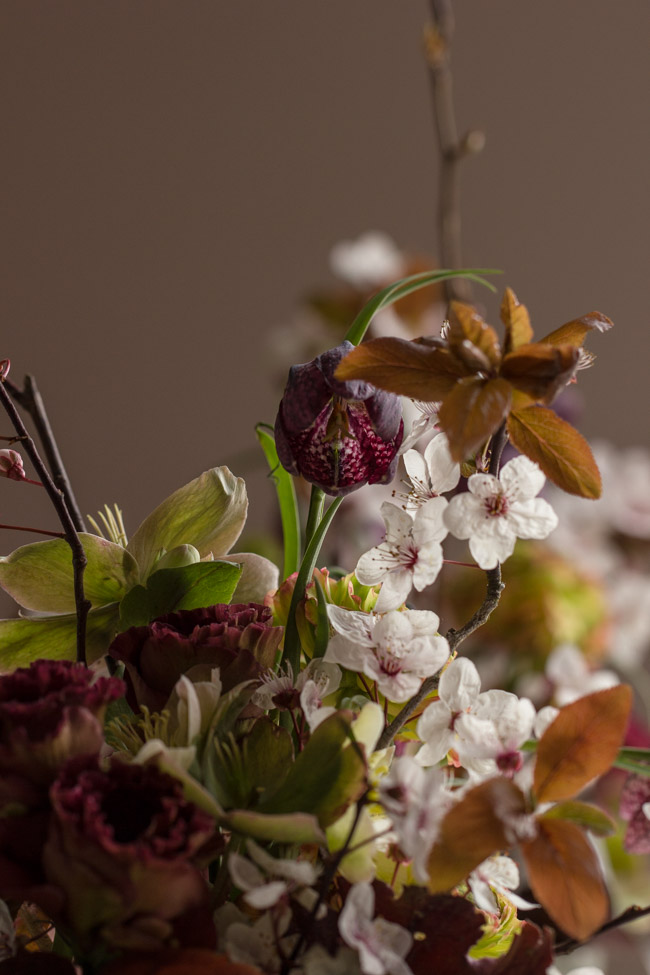
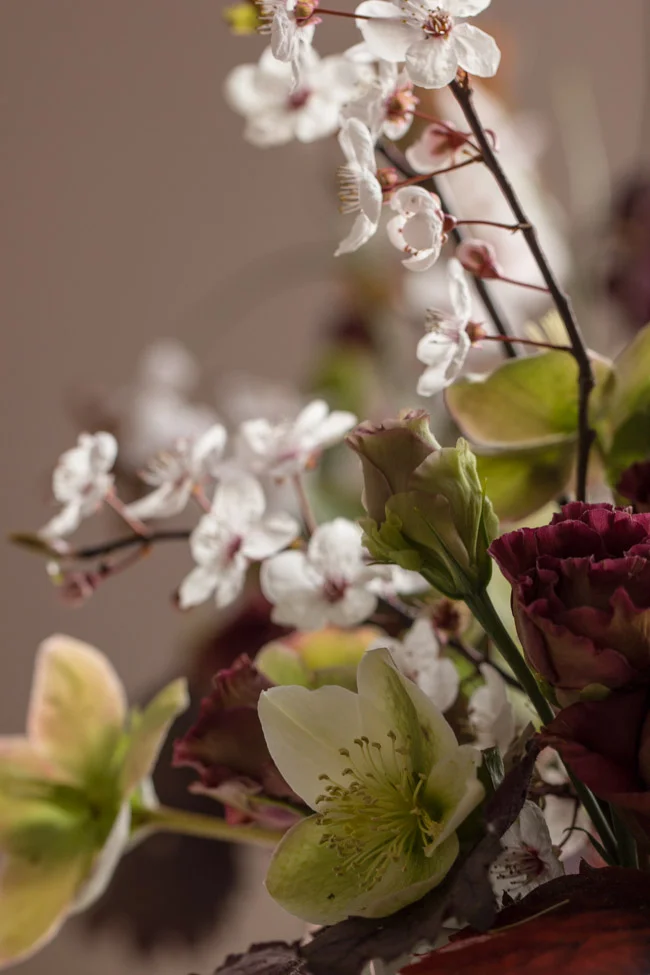
3 stems of blossom
2 stems of hellebore
2 ranunculus
3 stems of fritillary
1 stem of lisianthus
5 heuchera leaves

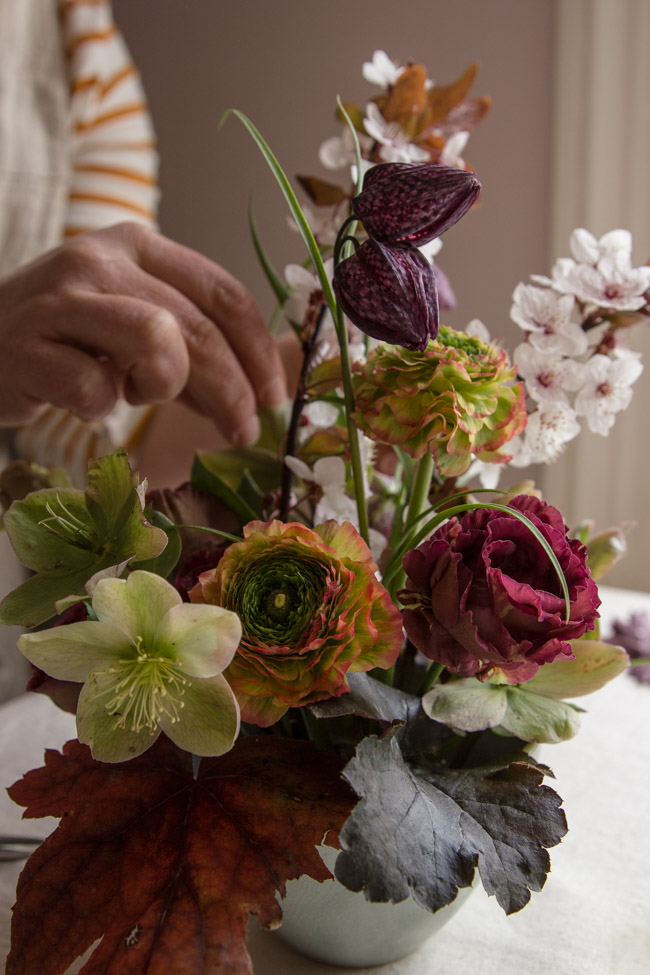
1. Secure the flower frog in the base of the bowl using the putty. (We didn't actually have any putty, opps, but it was fine), and then fill with water.
2. Put in a couple of leaves to start with to get the edge shape.
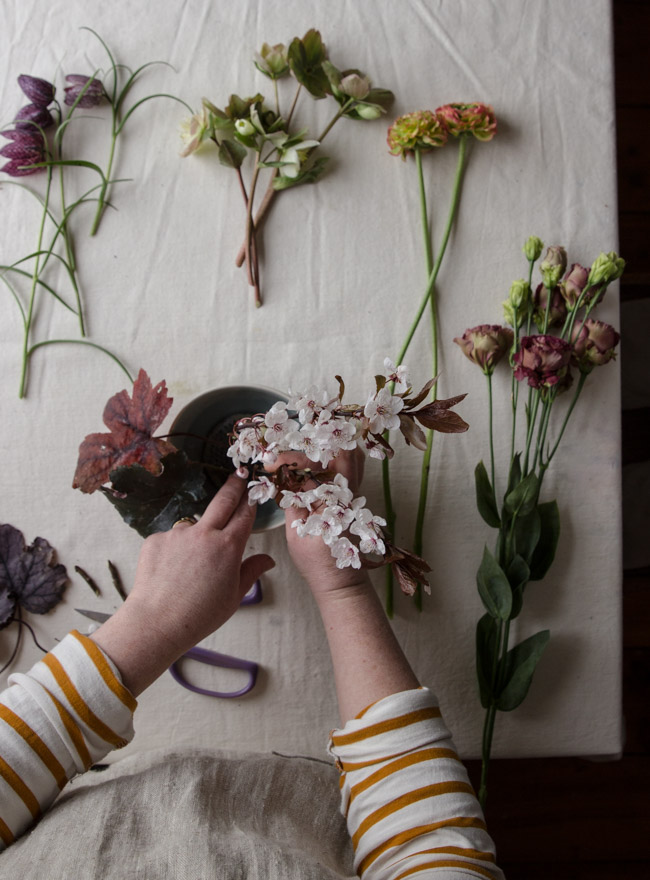
3. Next add the blossom or the tallest flower to understand the height and width of the arrangement.
4. Then continue adding flowers, the aim is to make the arrangement like a miniature garden, so group like flowers together as they would be in nature, and work with different heights and levels. Secure the stems in the flower frog. The beauty of the frog, is that you don't have to worry about hiding the workings so you can have space between the flowers and even make it more minimal if you like.


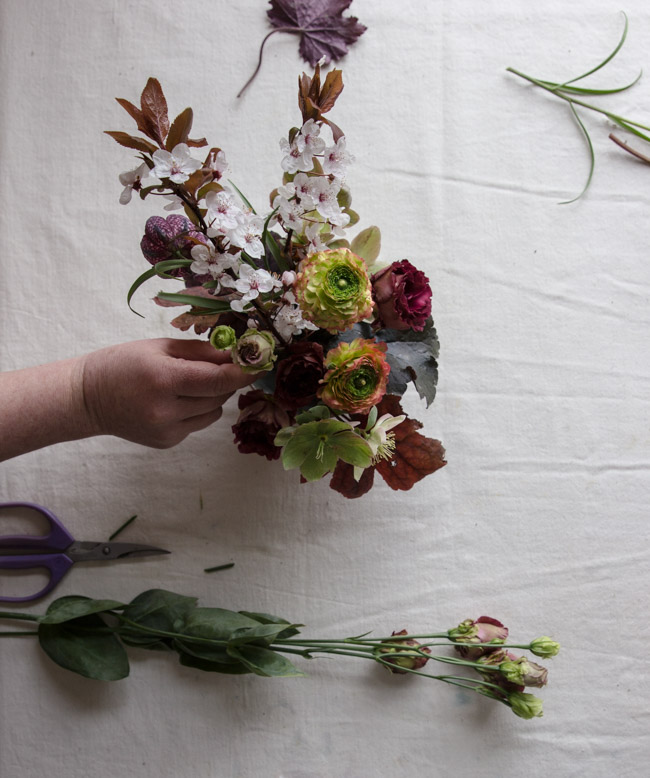
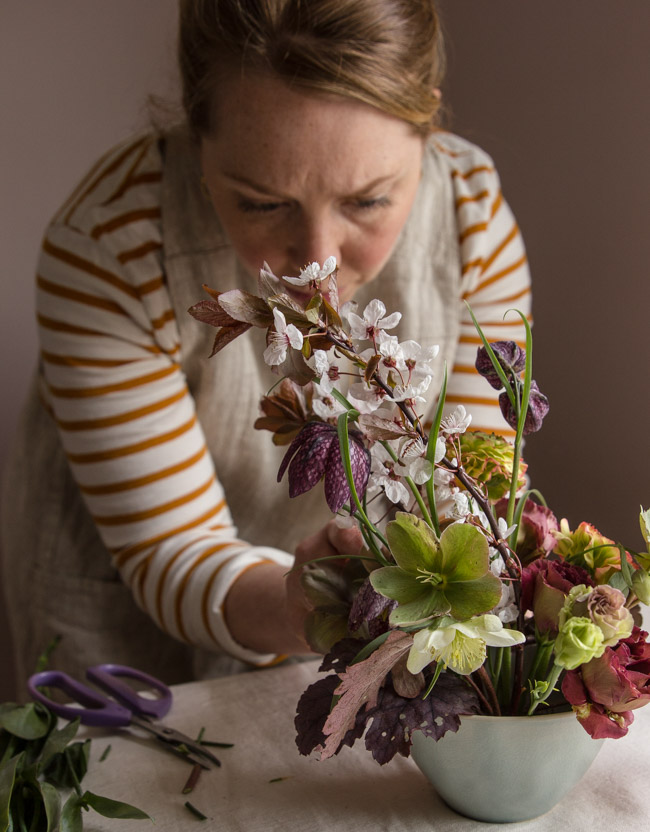

5. As you work, spin the bowl so you can ensure it looks good from every angle.

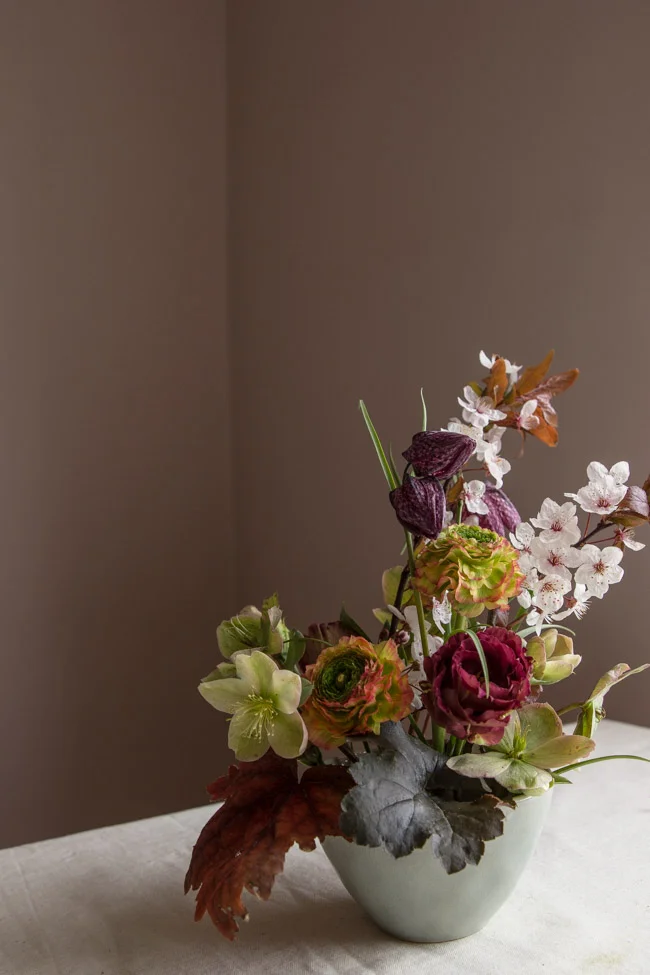
As always I created one too, with a bit of critique from Caroline of course.
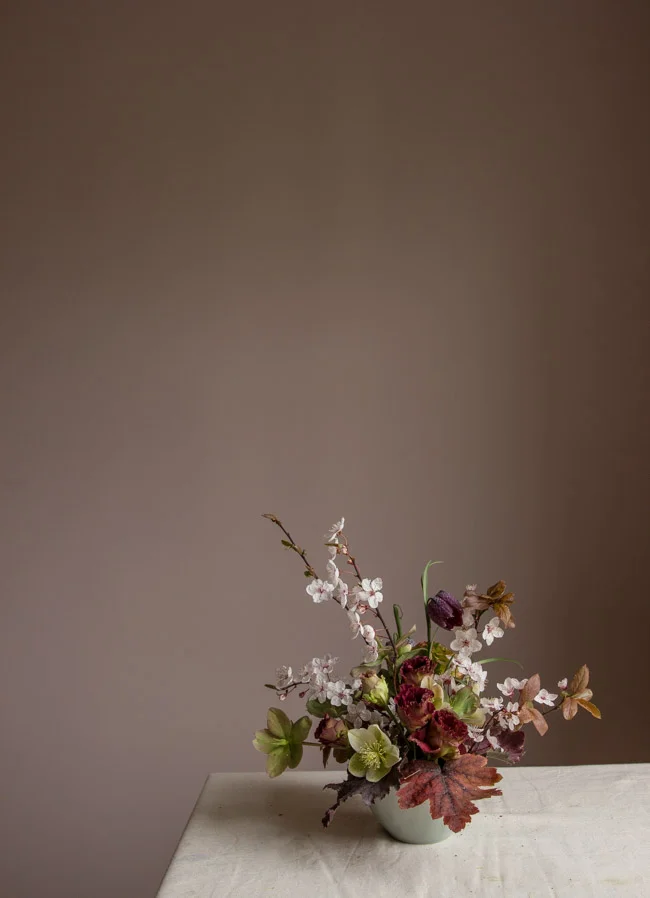


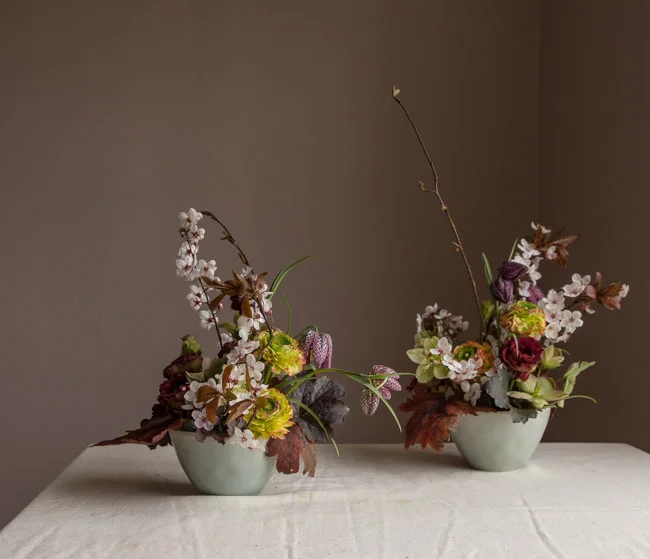
I think this might be favourite tutorial so far, I love how a little goes a long way and even if you don't have a big garden, you can create something quite lovely from a few stems.
If you have a go at making one yourself, do share, I would love to see it.
Emma x
SaveSave
SaveSave
SaveSave
SaveSave