Tutorial - Traditional Urn Arrangement

I know I am easily pleased, but I am so excited by this month's flower tutorial with Caroline from Wild Rubus. I have been noticing the most beautiful urn arrangement's popping up everywhere recently, so being able to create one of my very own made me very happy! Caroline and I decided to go for a traditional style this time round, but who knows, perhaps we might share a wilder version soon.
You will need:
An urn or similar container
1 tray to fit in the neck of the urn
1 block of oasis
Florists tape - 1 cm thick
Scissors
A good selection of flowers, for each arrangement we used:
5 stems of berried eucalyptus
10 stems of Ivy
5 chrysanthemum
10 roses (5 orange and 5 pink)
10 x ranunculus
10 x allium
5 x larkspur (stems separated)

1, Cut one third off the oasis block, and then soak both pieces in water. Remember to let them sink, don't be tempted to push them down into the water.
2. Once the oasis is wet through, cut the corners off the foam with a knife, including the downward edges.
3. Place the largest piece of foam in the tray, and then stack the smaller piece on top, in a pyramid shape.
4. Tape the foam to the tray, crossing over the top, (if you fold the tape in half over the foam it will take up less space). Also tape round the outside rim of the tray to strengthen it.
5. Place the tray in the top of the urn.
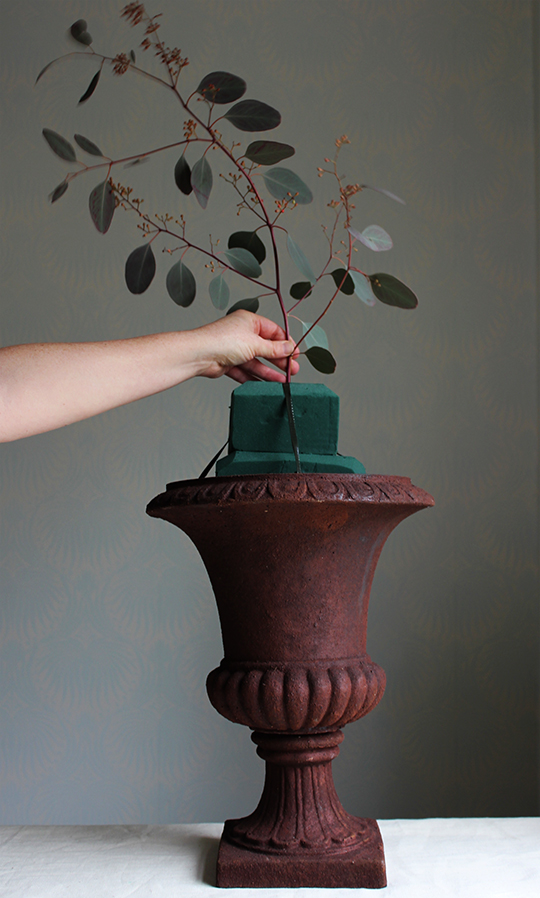
6. Start building the shape of your arrangement with foliage, ideally in a 3 dimensional triangle shape, with foliage coming towards you as well as out to the side.

7. We began with the eucalyptus and filled in with the ivy.

8. Once you have a good shape, start adding in the flowers, following the lines you have already created with the foliage. We started by adding the larkspur.

9. Followed by the chrysanthemums, creating an almost diamond shape with these focal flowers.
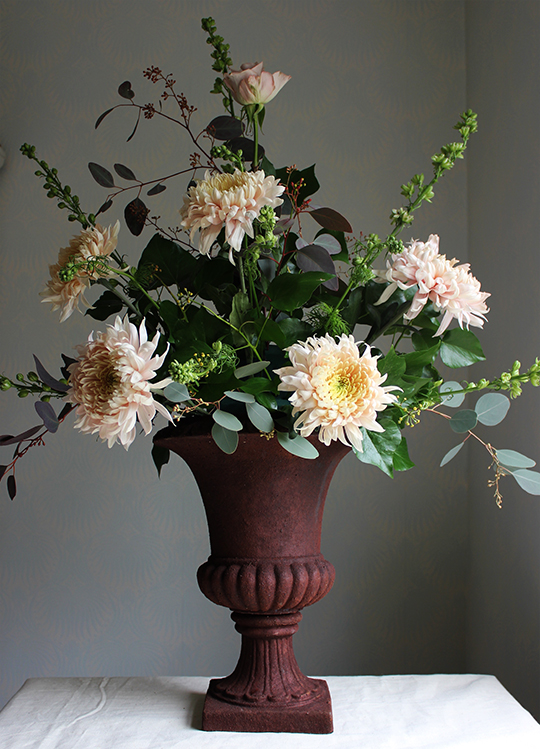
10. Next we added one variety of rose, and then the ranunculus.

11. Finally, the other variety of rose and the alliums (In the picture below, you can see Caroline measuring the rough length to cut the stem by holding the allium up to the urn).
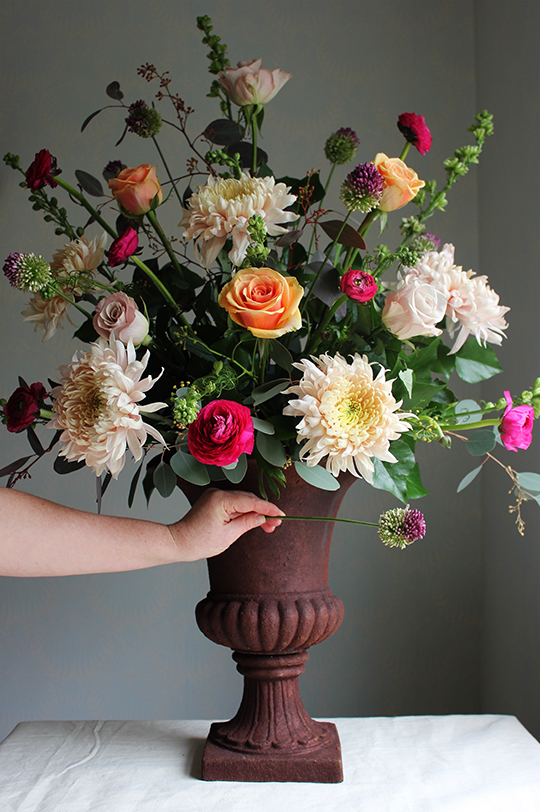
12. Ensure you are creating depth by going back in the arrangement too, and also creating different heights.
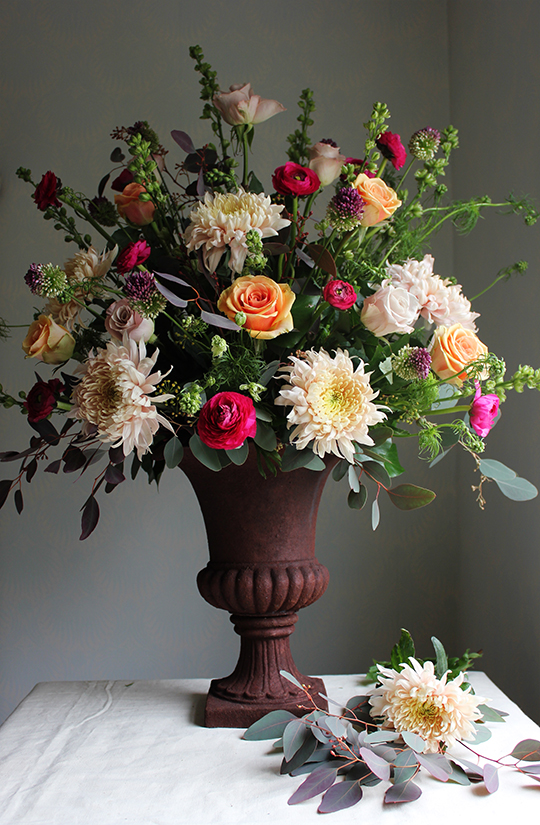
13. Once you have all the main flowers in, start filling in the gaps and making it looser, with more larkspur pieces and foliage.
16. Finally, fill in the back with foliage (unless the back will be on show too, in which case you need to ensure it looks as pretty as the front).
Caroline's finished urn.
And mine:

Tips & Hints
When you are doing a traditional shape like this, you need to make sure it is balanced and symmetrical.
The arrangement will be heavy and awkward to carry, so create it in situ if you can.
Keep the foam topped up with water to ensure it lasts.
Twist the heads so they are coming forward.
With softer stem flowers, hold the stem at the point you will be putting it in the oasis. If they are really soft, make the hole with a rose stem.
As always when cutting your stems down, do so cleanly and at an angle to aid maximum water absorption.

I think the result is absolutely stunning, I hope you agree.
Emma x