Asymmetrical Autumnal Mantlepiece Arrangement
Hello again! Here I am, as promised with a tutorial for the beautiful arrangements on my mantlepiece from Friday's Styling the Seasons post! Before we get started, I just thought I would introduce this column, as it is going to be a regular monthly feature here on the blog. As you know from the countless times I have mentioned previously, flowers are a passion of mine, and many moons ago, I started learning floristry, but part-way through I got pregnant, and aside from the fact it kind of threw a spanner in the works, I'm not very good at being pregnant. I suffer from hyperemesis gravidarum, (excessive vomiting during pregnancy to put it slightly less politely), which means that I'm not really good for much at all for about 8.5 months! So, although I never finished my course, and being a Mum became my main focus, I always quite liked the idea of reminding myself of the skills I learnt, which is how this column came about. I got in touch with Caroline from Wild Rubus, a very talented florist that I met on instagram and asked if she fancied collaborating with me, and was thrilled when she agreed!
Each month, along with Caroline, I will write a tutorial that you can follow at home if you fancy. You will get to see Caroline's professional creation, and my lay-man's attempt, hopefully proving that as a relative novice it is possible to have a go yourself. The other advantage being, that I got to ask Caroline questions as we went along that you might think of too!
The other aim of the column is to keep costs relatively low by using flowers and foliage that you have in your garden or can forage. If you look at our arrangements here, the only real outlay was for the roses, Caroline gathered virtually everything else. Who would have thought you could make something so beautiful with the price of a bunch of roses! You don't need to use exactly the same flowers as us, but use our arrangements as a guide, and get creative!
Right, I think that is enough talking from me for now, lets get on with the tutorial:

You will need:
- 1 x Mantle Vase
- Chickenwire
- Good scissors
- A selection of seasonal flowers - ideally a focal flower ie roses, something with multiple stems as a filler, hydrangea, berries and foliage

1. You can pick up mantle vases relatively cheaply in charity shops and at boot fairs, but they are usually missing their original mesh so you will need to get hold of some chicken wire, and scrunch it into a ball to fit to about an inch below the surface of the container.

2. Put some water in your container before you start adding flowers.
3. Remove any leaves or any shoots from the stems that will be below the water line.
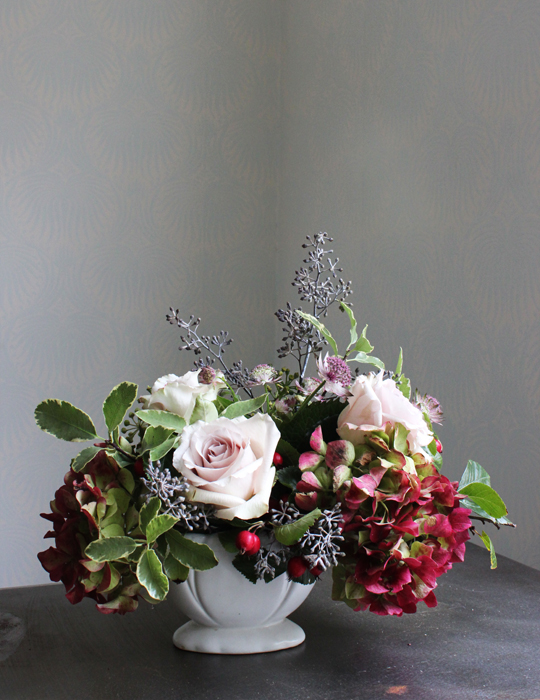
4. Snip the stems of the main base flowers, in this case, the 2 hydrangea, at an angle to allow them to take in as much water as possible (this applies to all flowers and foliage). Place the flowers in the container at different heights, with space between them.
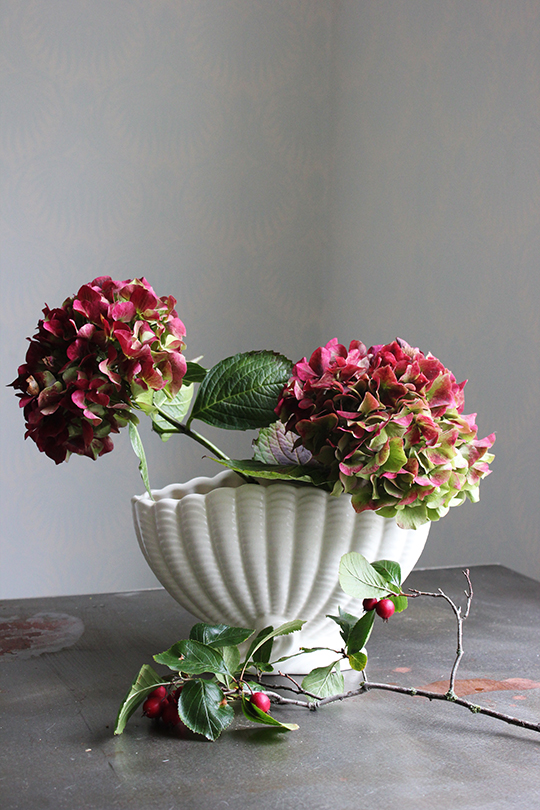
5. Add the berries to give some height and structure to the arrangement.
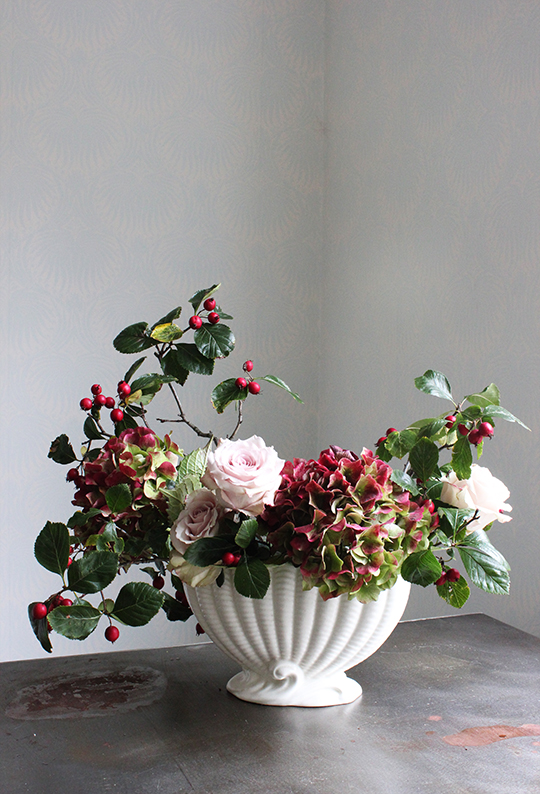
6. Place the focal flowers (this is where we used roses) so your eye is drawn across the arrangement to maintain the asymmetrical line. It works best if you have some grouped, and others spaced apart.


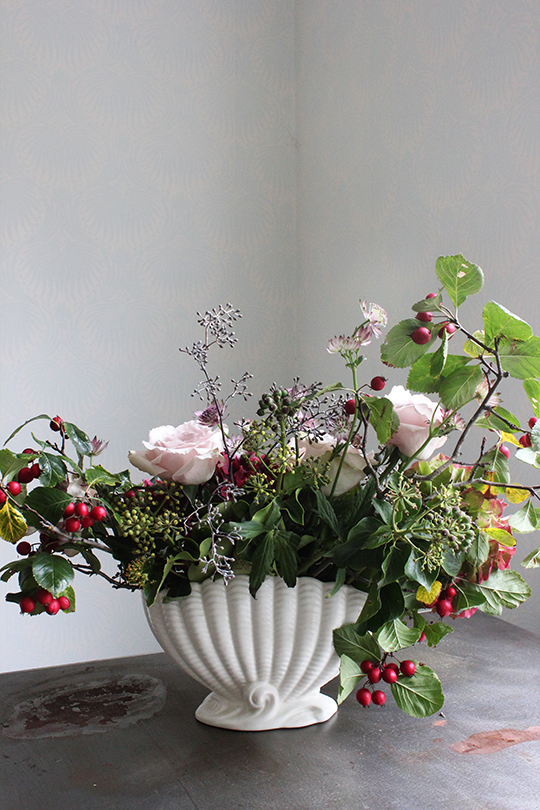
7. Fill in any gaps with the 'fluffy bits' (astrantia, eucalyptus berries, ivy, foliage), creating varying levels, bringing the arrangement forward and rounding it out.

8. It is also important to create a back, by filling that out slightly too, even though it will be against the wall, it will make a difference when you see through the arrangement.

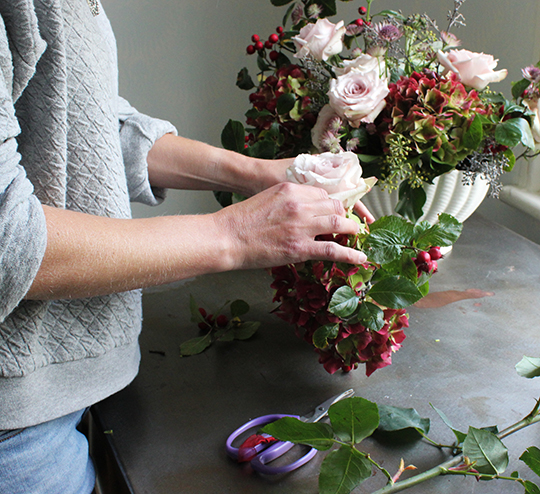
Once Caroline had created her glorious display, I attempted mine, I used a much smaller container, and different berries to create height, and although it was definitely outshone by Caroline's masterpiece, I was still pretty pleased with how it turned out.
I also learnt a couple of useful tips along the way:
- I'll start with the obvious one, don't forget to keep your arrangement topped up with water.
- If necessary, it is ok to pull off any damaged or faded petals from the outside of a rose, it won't cause any harm.
- Always think about how you are going to use the flowers and foliage to make the best of each stem when you are snipping pieces from it, the aim being to get as many useful pieces as possible from one branch.

That's it, our first tutorial, I'm already looking forward to next months. I hope you liked it too, and if you have any questions, please feel free to leave them in the comments section. Oh yes, one more thing, if you hop over to Caroline's blog, you can read all about the inspiration behind the arrangement.
Have a good week.
Emma x